准备
1.CentOS 7 下安装Nginx 的方法 Centos 或 Linux 下安装NGINX 及管理脚本
2.完整环境搭建教程 LNMP 环境搭建
如果你这台服务器只是用来做反向代理 你只要安装Nginx 就行了
一个简单的需求示例
隐藏源主机的 ip地址
源服务器 的解析 以及IP 地址
PING www.suna**.com (96.126.98.**) 56(84) bytes of data.
64 bytes from li331-**.members.linode.com (96.126.98.**): icmp_seq=3 ttl=56 time=118 ms
用来做反向代理的 服务器IP地址
[root@llw31*** nginx]# ip addr
1: lo: <LOOPBACK,UP,LOWER_UP> mtu 65536 qdisc noqueue state UNKNOWN
    link/loopback 00:00:00:00:00:00 brd 00:00:00:00:00:00
    inet 127.0.0.1/8 scope host lo
    inet6 ::1/128 scope host
       valid_lft forever preferred_lft forever
2: venet0: <BROADCAST,POINTOPOINT,NOARP,UP,LOWER_UP> mtu 1500 qdisc noqueue state UNKNOWN
    link/void
    inet 127.0.0.1/32 scope host venet0
    inet 173.***.96.***/32 brd 173.***.96.*** scope global venet0:0
    inet 23.***.4.***/32 brd 23.***.4.*** scope global venet0:4
    inet 50.2.136.***/32 brd 50.2.136.*** scope global venet0:5
    inet 170.***.6.***/32 brd 170.***.6.*** scope global venet0:6
    inet6 2607:***:1:3::a5c9:***/128 scope global
       valid_lft forever preferred_lft forever
 scope global venet0:0
    inet 23.***.4.***/32 brd 23.***.4.*** scope global venet0:4
    inet 50.2.136.***/32 brd 50.2.136.*** scope global venet0:5
    inet 170.***.6.***/32 brd 170.***.6.*** scope global venet0:6
    inet6 2607:***:1:3::a5c9:***/128 scope global
       valid_lft forever preferred_lft forever
1.首先我们把需要反向代理的域名 解析到代理主机上
www.suna**.com 由 96.126.98.** 解析 换到 173.***.96.*** 地址
使用 ping 查看解析是否成功
C:\Users\Administrator>ping www.suna**.com

正在 Ping www.suna**.com [173.213.96.111] 具有 32 字节的数据:
来自 173.***.96.*** 的回复: 字节=32 时间=274ms TTL=50
来自 173.***.96.*** 的回复: 字节=32 时间=274ms TTL=50
来自 173.***.96.*** 的回复: 字节=32 时间=274ms TTL=50
来自 173.***.96.*** 的回复: 字节=32 时间=274ms TTL=50

173.***.96.*** 的 Ping 统计信息:
    数据包: 已发送 = 4,已接收 = 4,丢失 = 0 (0% 丢失),
往返行程的估计时间(以毫秒为单位):
    最短 = 274ms,最长 = 274ms,平均 = 274ms
2.更改 Nginx 配置 下面是一个简单的示例
user  nginx;
worker_processes  1;

#error_log  logs/error.log;
#error_log  logs/error.log  notice;
#error_log  logs/error.log  info;

#pid        logs/nginx.pid;

events {
    worker_connections  1024;
}

http {
    include       mime.types;
    default_type  application/octet-stream;

    #log_format  main  '$remote_addr - $remote_user [$time_local] "$request" '
    #                  '$status $body_bytes_sent "$http_referer" '
    #                  '"$http_user_agent" "$http_x_forwarded_for"';

    #access_log  logs/access.log  main;

    sendfile        on;

 server
  {
    listen       80;
    server_name  http://www.suna**.com;

   location /
     {
      proxy_pass http://96.126.98.**;
      proxy_cache_key $host$uri$is_args$args;
      proxy_set_header Host  $host;
      proxy_set_header X-Forwarded-For  $remote_addr;
      proxy_cache_valid  200 304 12h;
      expires      2d;
     }

 location ~ .*\.(php|jsp|cgi|asp|aspx|flv|swf|xml)?$

    {
         proxy_set_header Host  $host;
         proxy_set_header X-Forwarded-For  $remote_addr;
         proxy_pass  http://96.126.98.**;
    }
    access_log  off;

   location ~ /clean(/.*)
    {
     allow            127.0.0.1;
     allow            221.224.***.0/24;
     deny            all;
    }

  }


}
重启nginx 后 我们可以发现 http://www.suna**.com 访问的 ip 为 173.***.96.***的服务器
而数据来自与 96.126.98.** 的服务器 很好的隐藏了 源服务器的IP 地址 以及源服务器
效果 可以看出对访问没什么影响 并且成功隐藏了源服务器
![[EUC_5F1AYPMKG2]FYIZ[GU](http://www.weicot.com/wp-content/uploads/2017/08/EUC_5F1AYPMKG2FYIZGU.png)
nginx反向代理 简单的缓存静态文件
http {
    proxy_cache_path  /data/nginx/cache  levels=1:2    keys_zone=STATIC:10m
    #/data/nginx/cache 请确保这个文件是存在的
    inactive=24h  max_size=1g;
    server {
        location / {
            proxy_pass             http://1.2.3.4;
            proxy_set_header       Host $host;
            proxy_cache            STATIC;
            proxy_cache_valid      200  1d;
            proxy_cache_use_stale  error timeout invalid_header updating
                                   http_500 http_502 http_503 http_504;
        }
    }
}
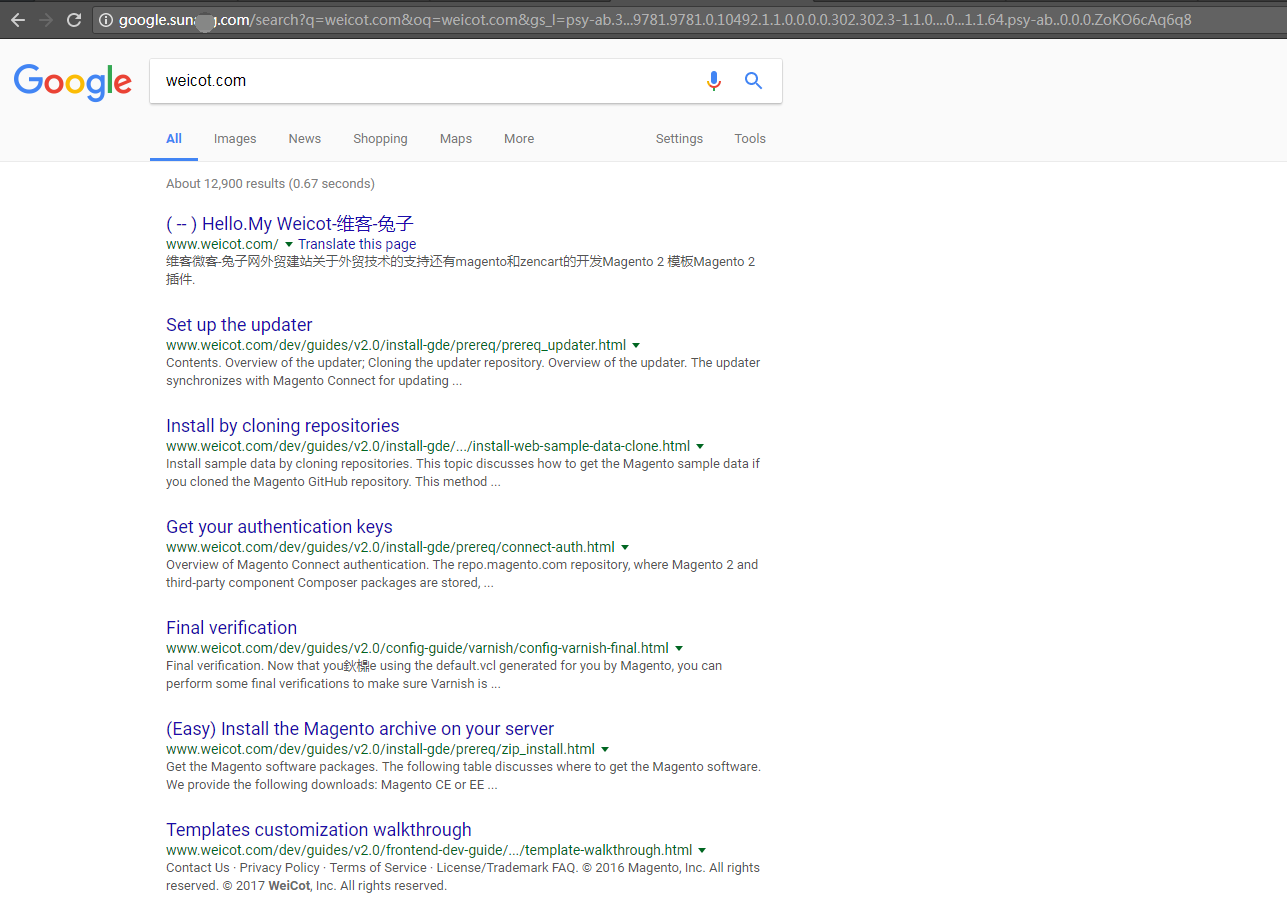
使用 Nginx 反向代理谷歌 并缓存静态文件 一个简单的示例
user  nginx;
worker_processes  1;

#error_log  logs/error.log;
#error_log  logs/error.log  notice;
#error_log  logs/error.log  info;

#pid        logs/nginx.pid;

events {
    worker_connections  1024;
}

http {
    include       mime.types;
    default_type  application/octet-stream;

    #log_format  main  '$remote_addr - $remote_user [$time_local] "$request" '
    #                  '$status $body_bytes_sent "$http_referer" '
    #                  '"$http_user_agent" "$http_x_forwarded_for"';

    #access_log  logs/access.log  main;

    sendfile        on;
    #tcp_nopush     on;

    #keepalive_timeout  0;
    keepalive_timeout  65;

    #gzip  on;


    proxy_cache_path /var/nginx  levels=1:2    keys_zone=STATIC:10m
    inactive=24h  max_size=1g;

server
  {
    listen       23.231.4.***:80;
    server_name  google.suna**.com;

   location /
     {
      proxy_pass https://www.google.com;
      proxy_cache_key $host$uri$is_args$args;
 #     proxy_set_header Host  $host;
  proxy_redirect      off;
        proxy_set_header    X-Real-IP       $remote_addr;
        proxy_set_header    X-Forwarded-For $proxy_add_x_forwarded_for;

#      proxy_set_header X-Forwarded-For  $remote_addr;
      proxy_cache            STATIC;
      proxy_cache_valid  200 304 12h;
      expires      2d;
     }

# location ~ .*\.(php|jsp|cgi|asp|aspx|flv|swf|xml)?$

    #{
     #    proxy_set_header Host  $host;
   #      proxy_set_header X-Forwarded-For  $remote_addr;
  #       proxy_pass http://www.google.com;
 #   }
    access_log  off;

   location ~ /clean(/.*)
    {
     allow            127.0.0.1;
     allow            221.224.***.0/24;
     deny            all;
    }

  }

}
效果
参考 与引用
Module ngx_http_proxy_module
Centos 或 Linux 下安装NGINX 及管理脚本
LNMP 环境搭建
nginx caching